Identity verification
Step By Step Business Verification Guide
2023-12-22 03:510259
This document serves as a guide on how to apply for business verification (KYB) on Bitget web. Please be informed that the Bitget mobile app does not support this feature.
Step 1:
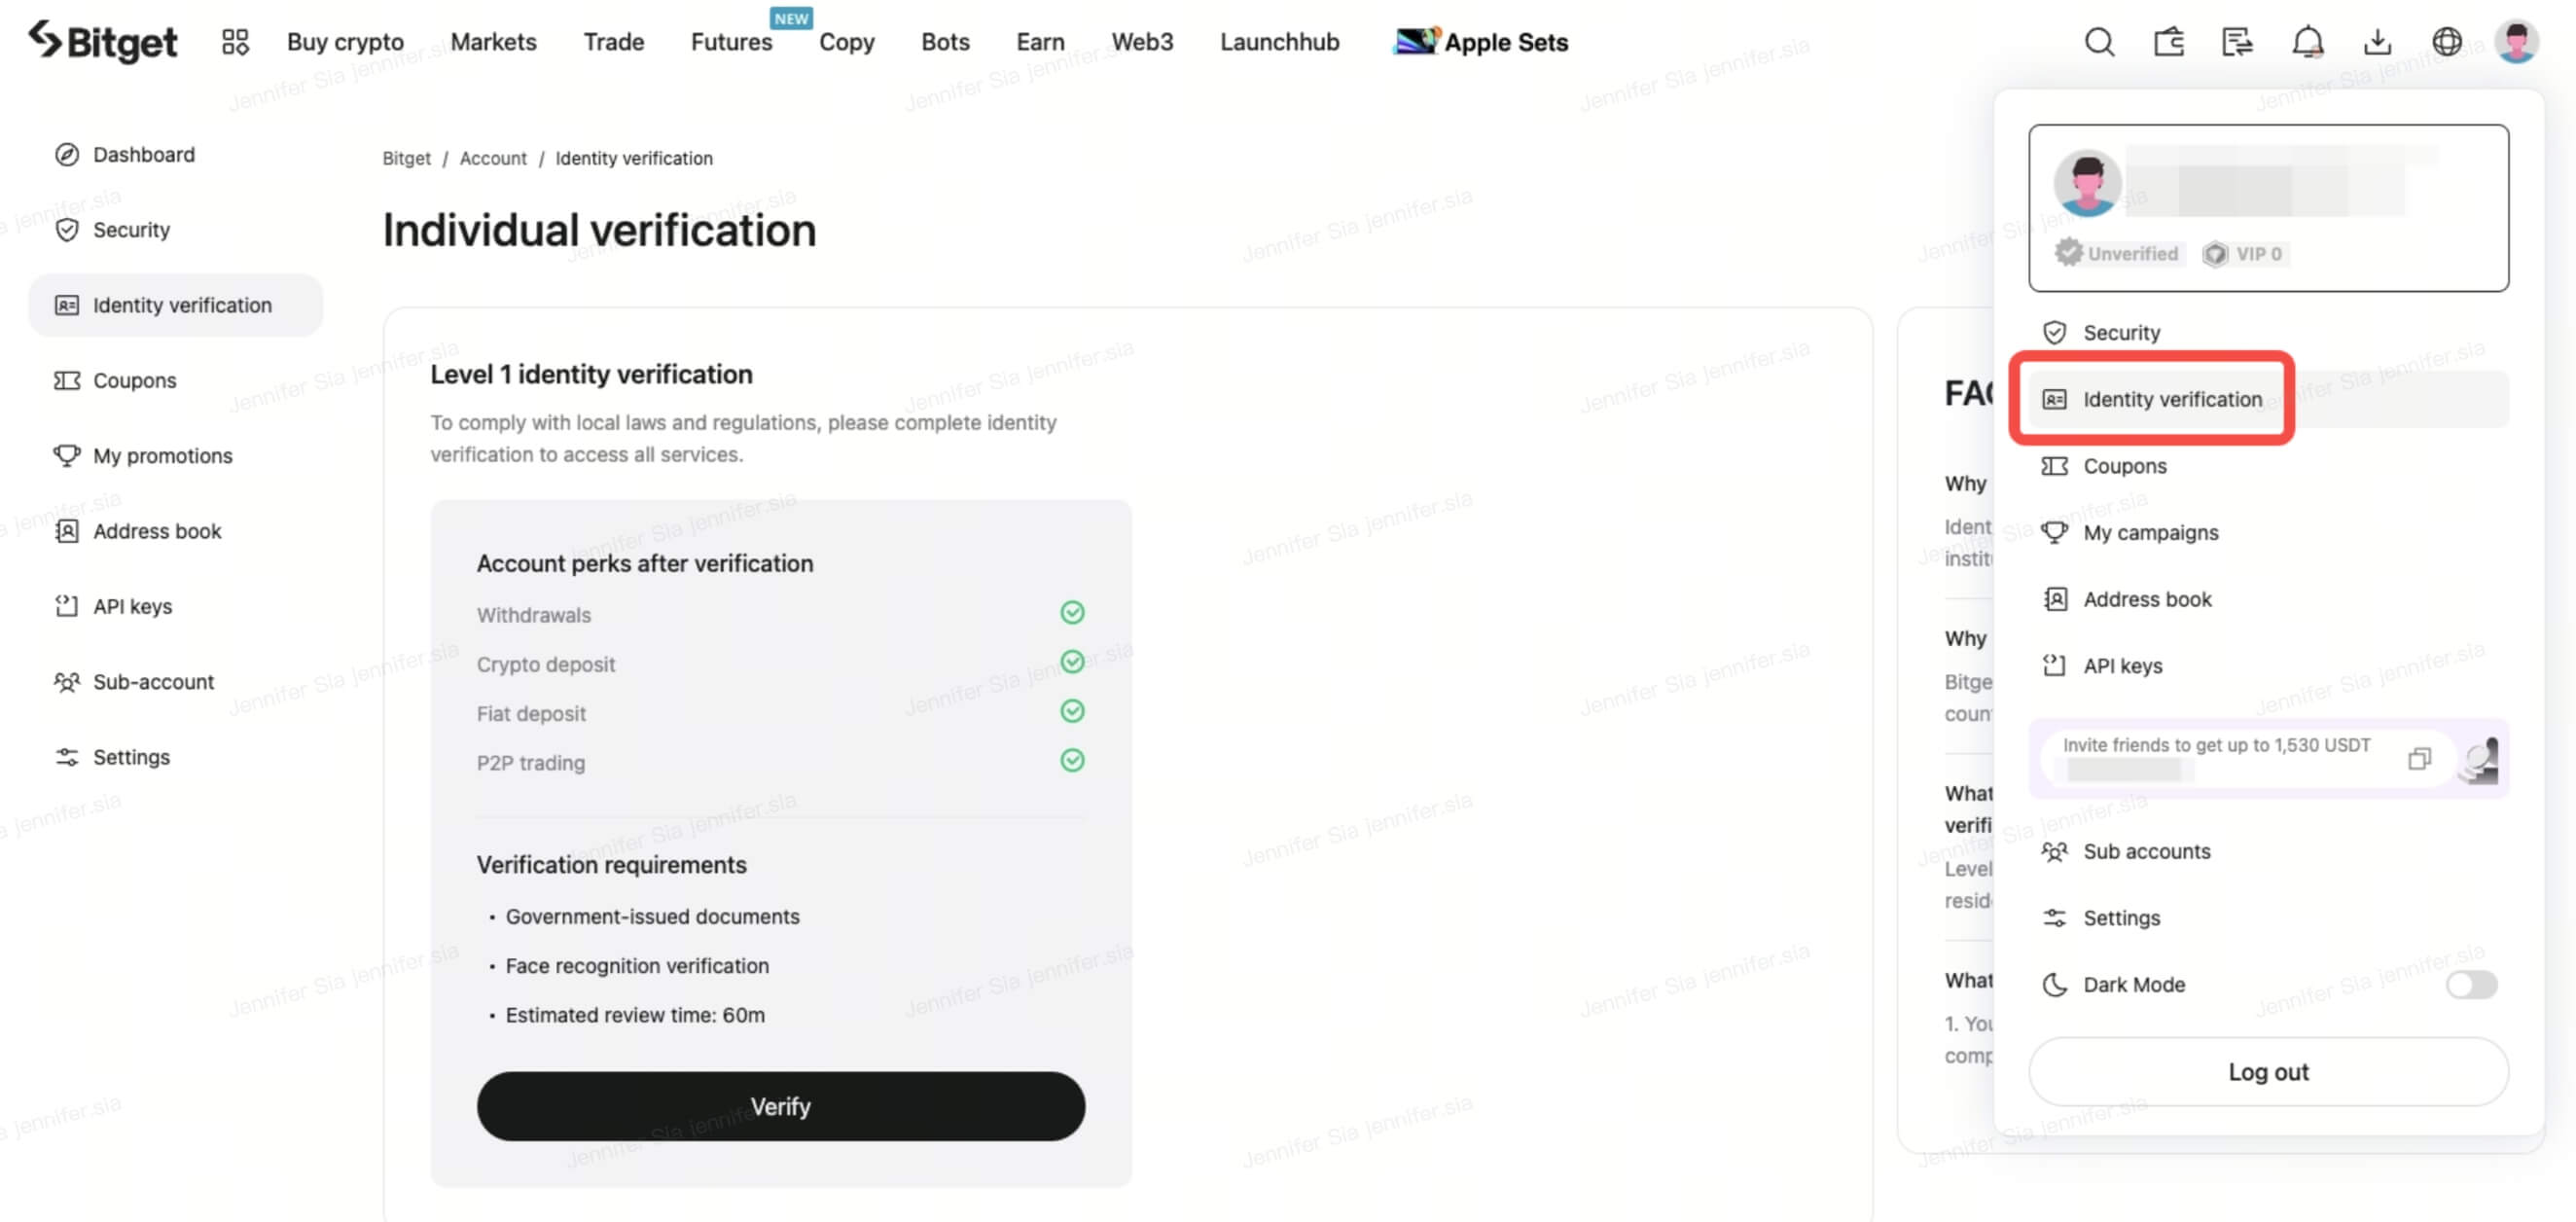
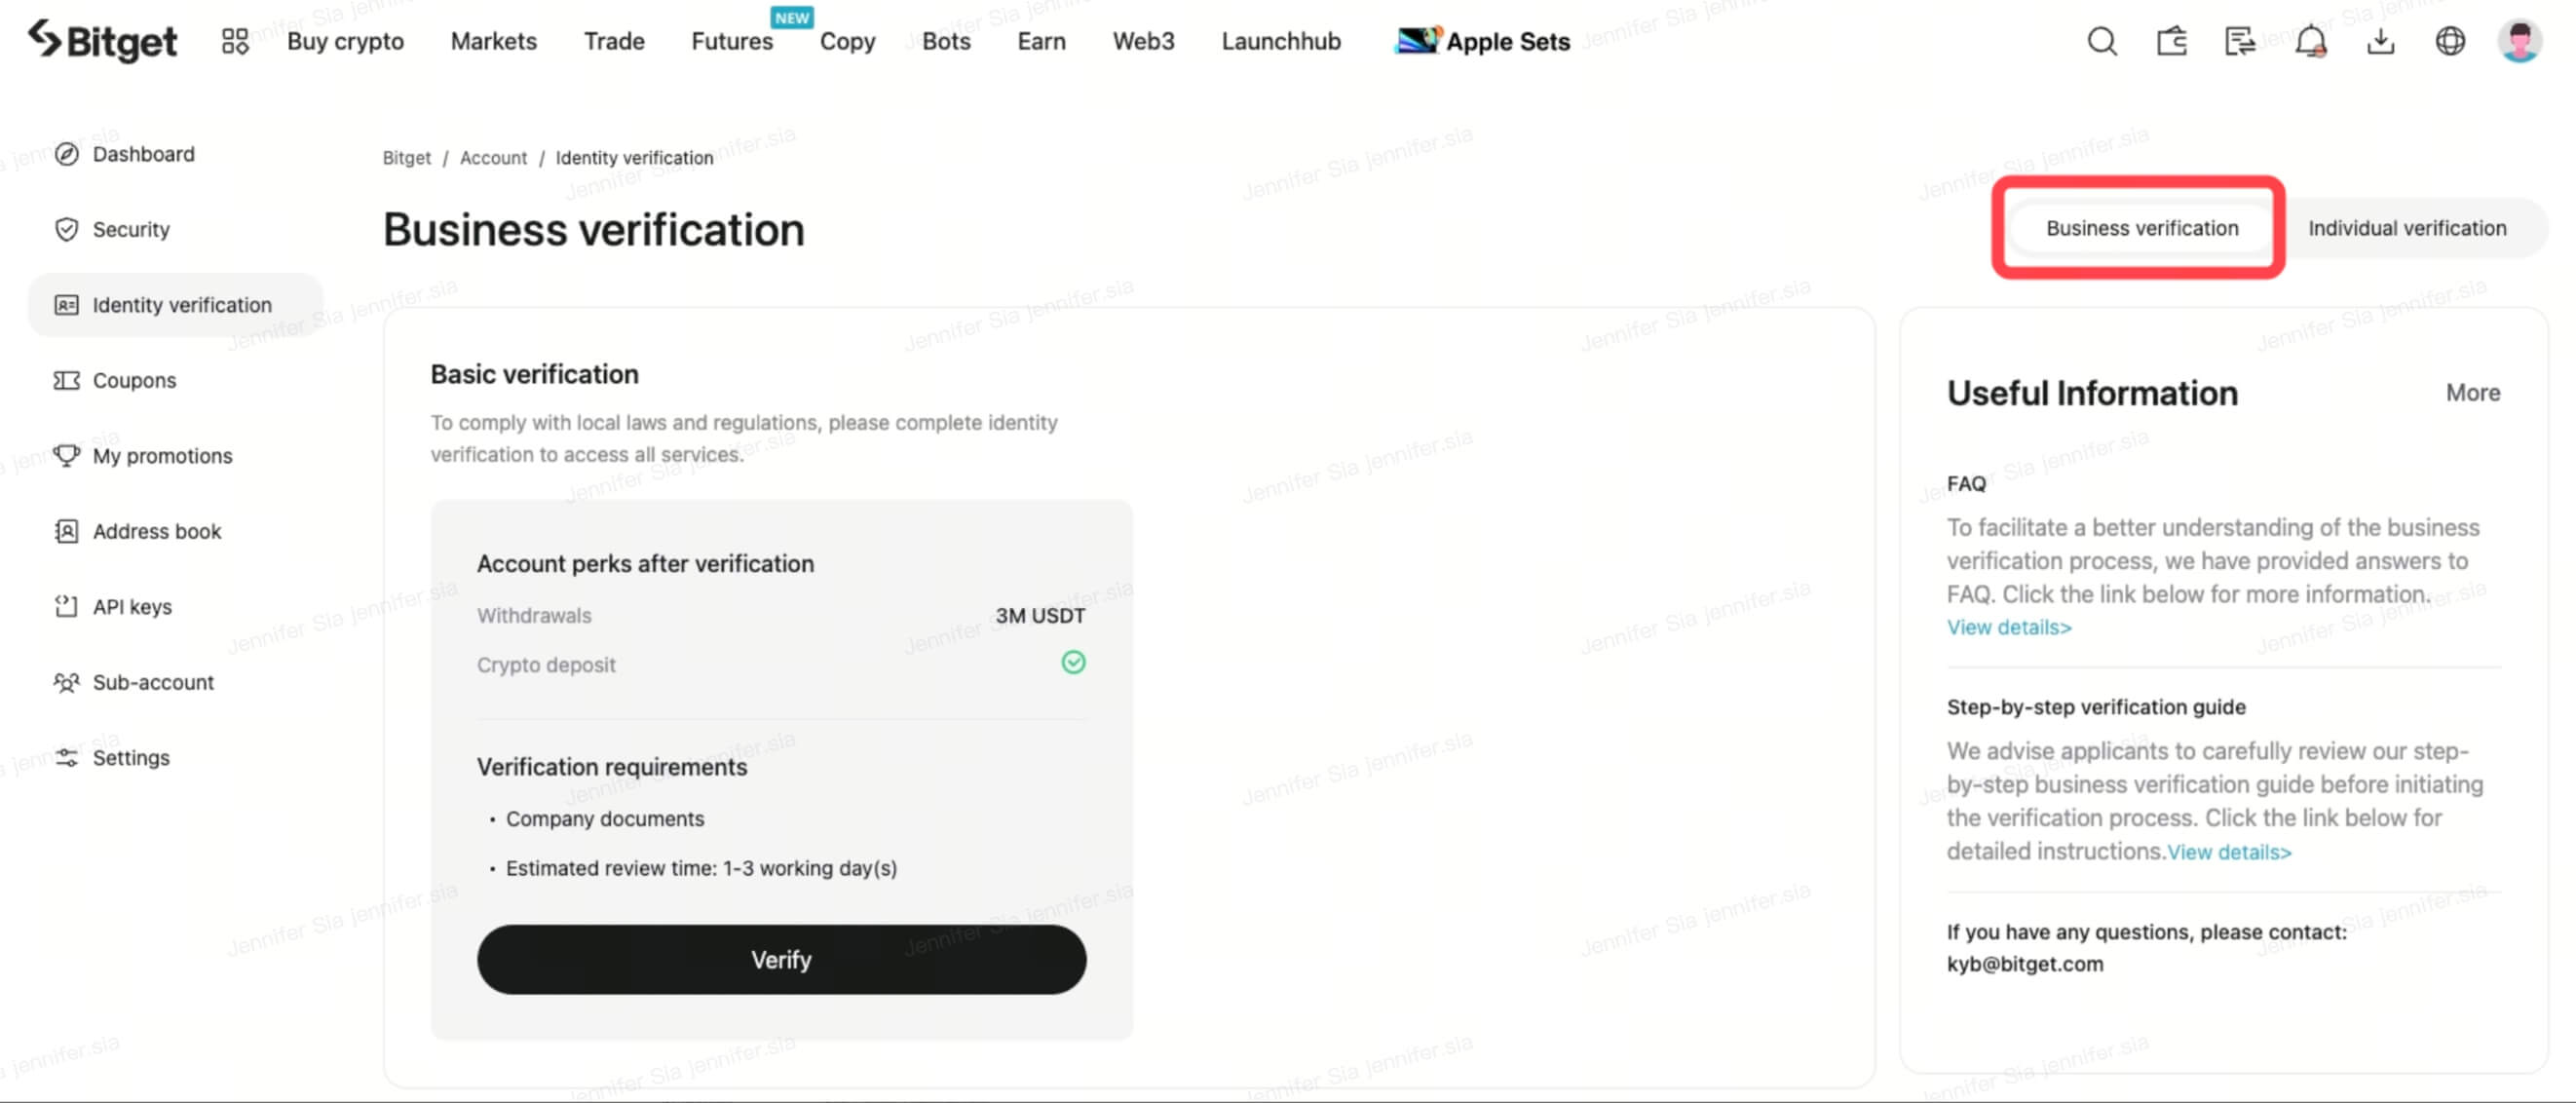
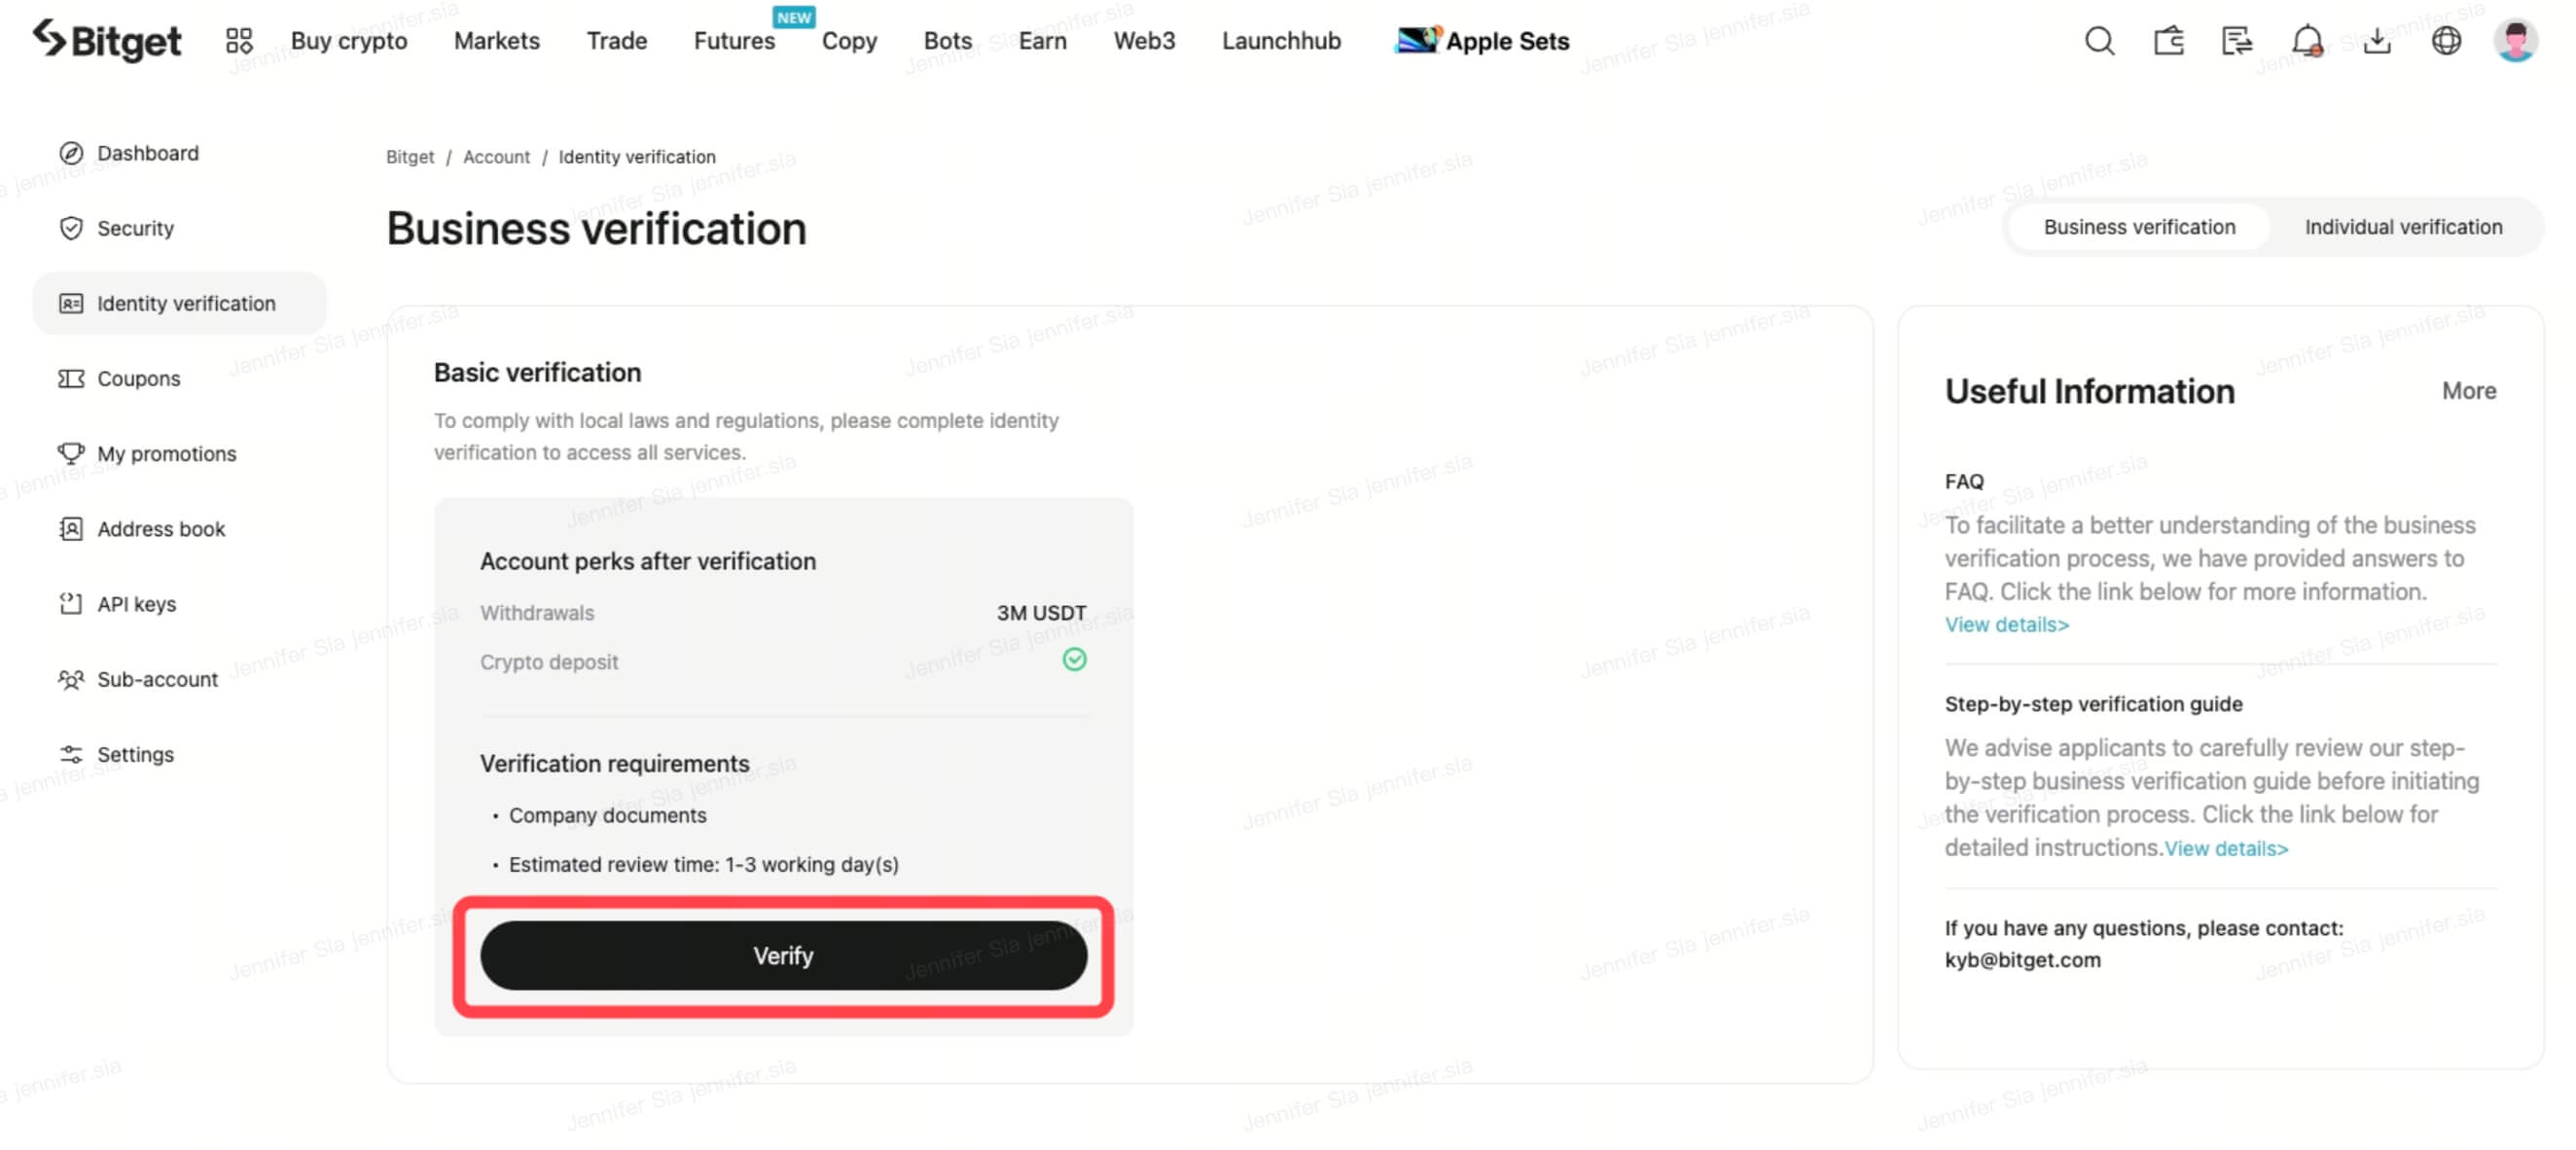
Login to your Bitget account. Go to [
Identity Verification] and choose [Business verification] on the top right corner. Click [Verify].
Step 2:
Please fill in the entity information as instructed. Kindly ensure:
-
The information provided align with the official documents;
-
A valid Office address is provided. Office address refers to where the entity is actually operated, so it should NOT be the Registered Agent's address, the Company Secretary's address or a P.O. box etc. If the entity is operated from home, please fill in the residential address where the entity is operated;
-
The contact email is correct since our review team might reach out to you for further information.
Click [Next].

Step 3:
Please fill in further information about your business, the account purpose and expected transaction frequency and volume. Click [Next].

Step 4:
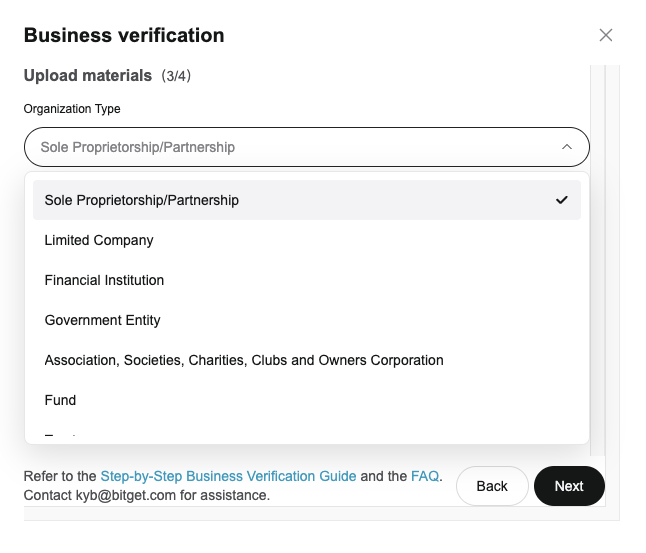
Please select the appropriate entity type that is the most suitable for your entity. It is important to choose the correct entity type to generate the accurate document list. Please note that if an incorrect entity type is selected, users will be required to refill and re-submit your application.
Step 5:
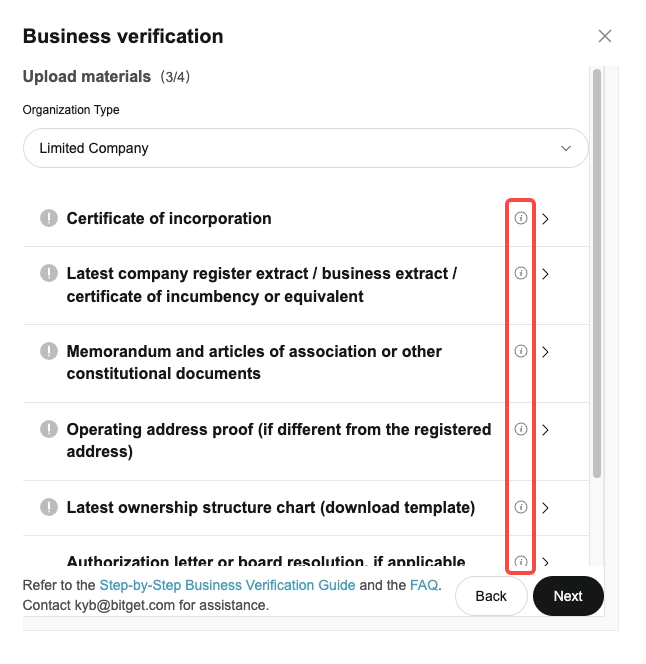
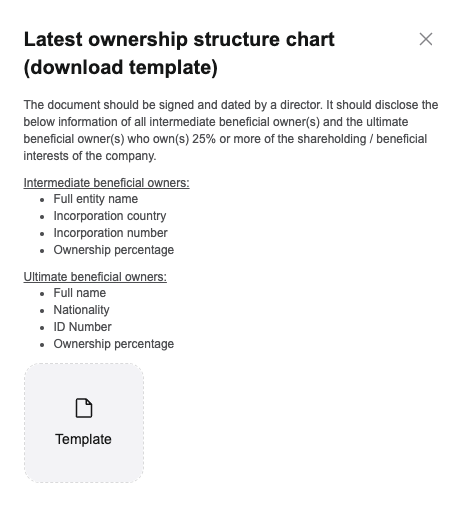
Upload the documents as instructed. The documents marked with an "!" icon on the left are mandatory. Click the information icon on the right to read the requirements of each document. Templates are available for some document types. If the file size exceeds 10MB, users can split it into smaller documents and upload them.
Click [Next].
Step 6:
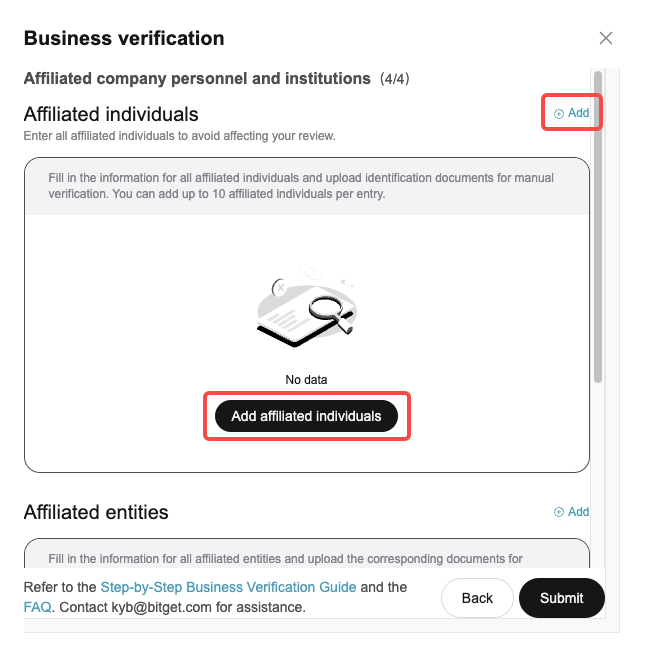
Please click [Add affiliated individuals] to add related individual parties including all individual Directors, Ultimate Beneficial Owners (UBOs) owning 25% or more of the shareholding interests or voting rights and Authorised Persons (APs). If there is no individual fulfilling the definition of UBOs, please provide the information of the Ultimate Controllers instead.
Please click [Add affiliated entities] to add the non-individual Directors, if any.
Step 7:
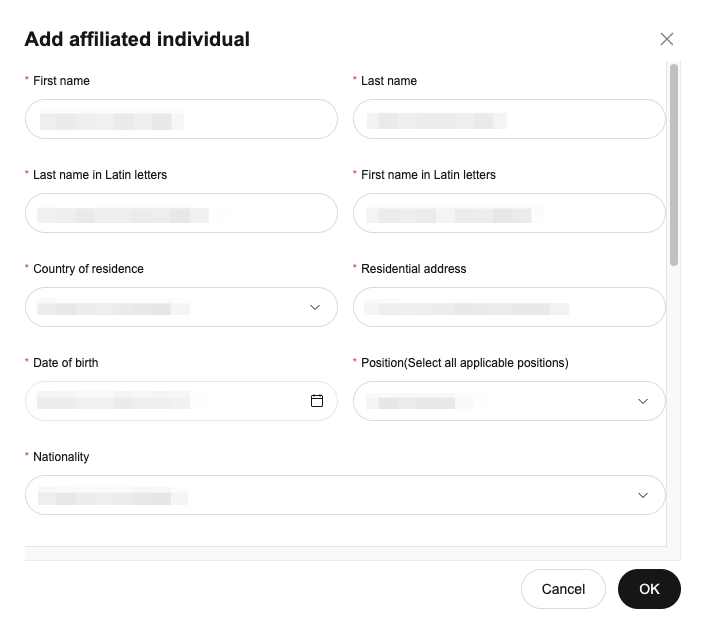
Please add and fill in the information of all affiliated individuals accordingly. If an individual holds more than one position (e.g. He is the Director, Ultimate Beneficial Owner and Authorised Person at the same time), simply tick all applicable positions on the dropdown list. It is necessary to disclose all UBOs who possess 25% or more of the shareholding interests or voting rights. Kindly note that missing related parties or information will result in re-submission of application.
Step 8:
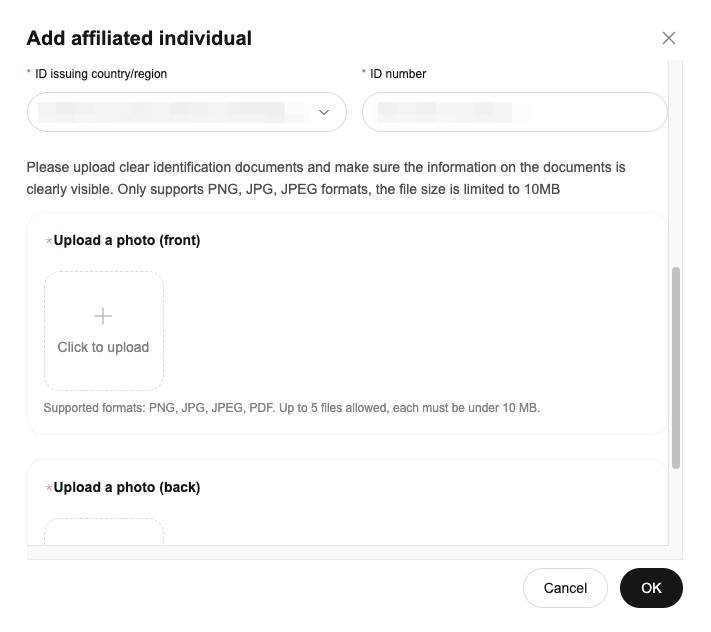
Scroll down to provide the information of the affiliated individual's ID document. Upload the front and back of the ID document. Also upload a residential address proof issued within 3 months if the affiliated individual is a UBO. Click [OK].
Step 9:
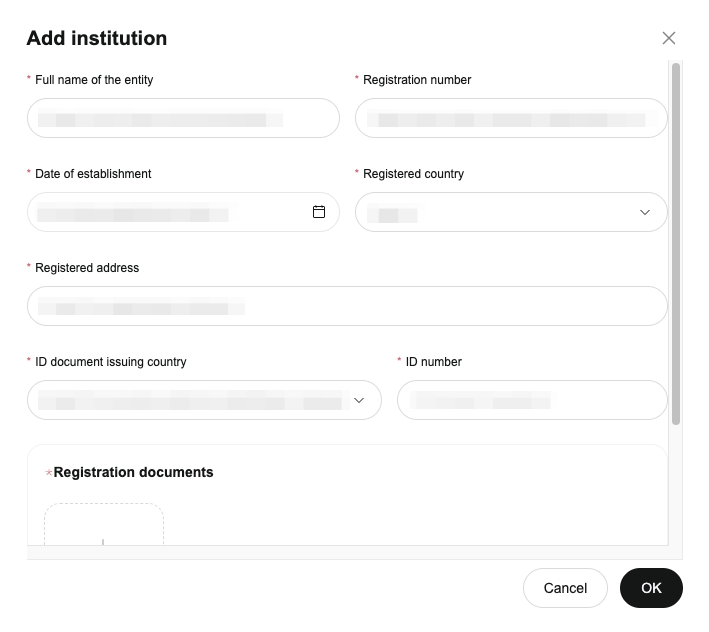
This step only applies to entities that have non-individual Directors. Please fill in the information and upload the company registration document(s) of the non-individual Directors accordingly. Click [OK]
Step 10:
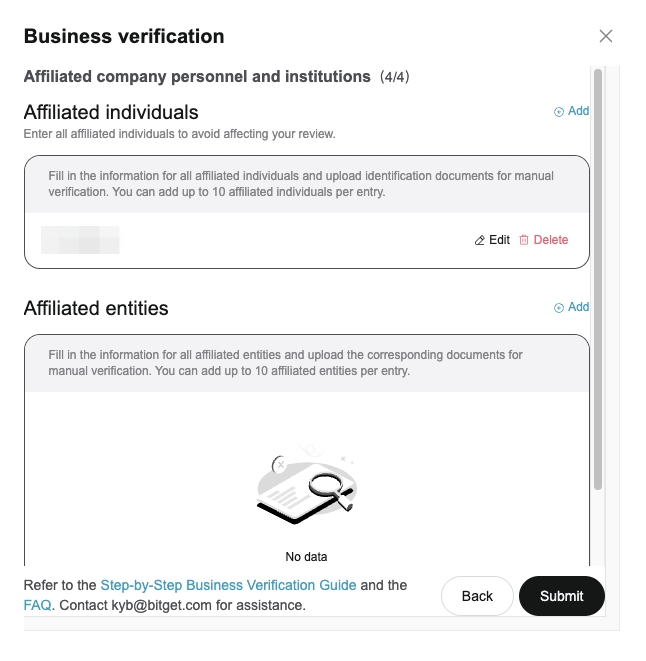
Affiliated parties can be edited or deleted. After confirming all affiliated parties are added and the provided information is accurate, click [Submit].
Step 11:
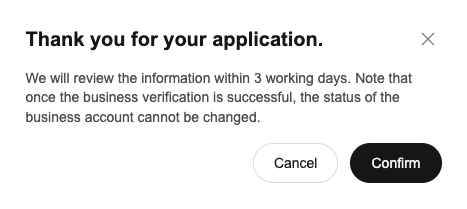
Click [Confirm].
Step 12:
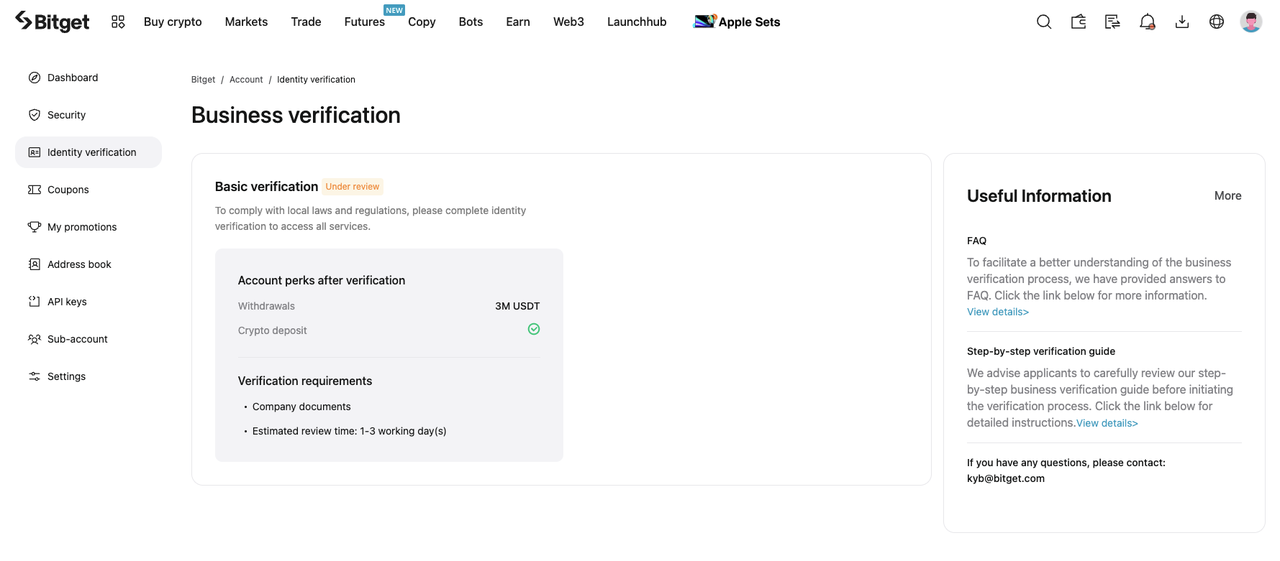
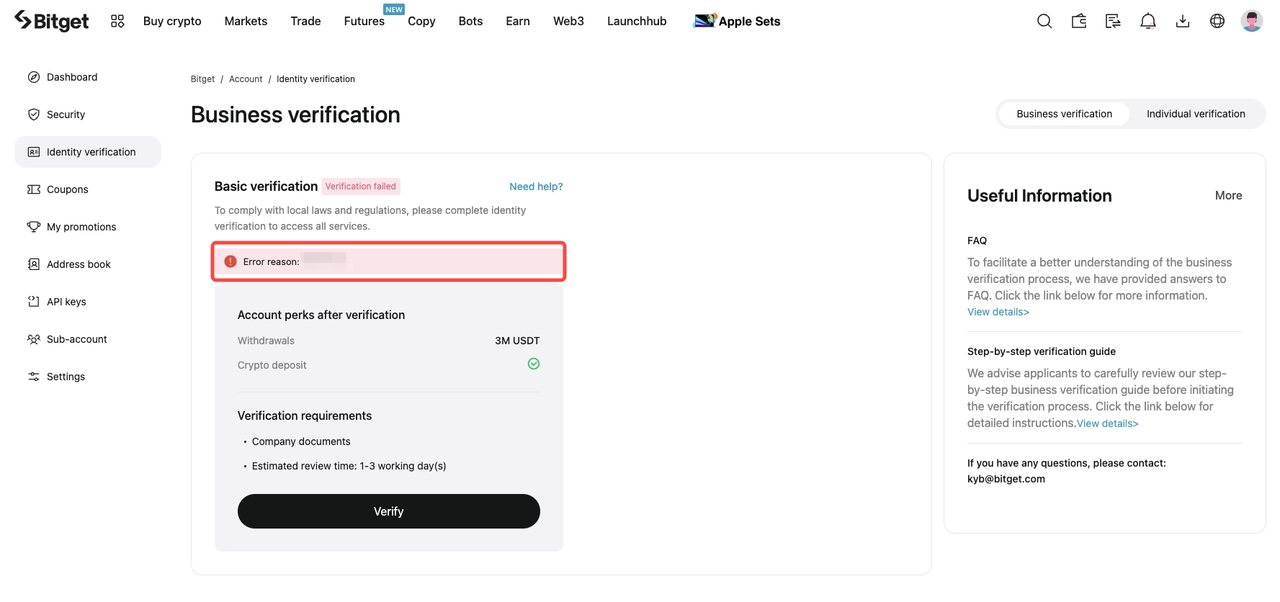
You can always log in to the Bitget platform and review the status of your application on the business verification page. If additional documents or information are required from you, we will return the case to you and indicate the rejected reasons in red highlights for your convenience. Your Bitget registered email address will also receive a notification email that includes a comprehensive list of rejection reasons for your reference.
Should you require further information or assistance, please read
KYB FAQ or contact us at
kyb@bitget.com with your UID and we will revert to you as soon as possible. Alternatively, you may also reach out to our 24/7 live chat support.
Share

